Modern Clutch Starter #232

The Bag
The Modern Clutch Starter #232 was a fun and surprisingly simple bag to make. I want to note that the #232 part of this pattern name refers to the color of the kiss-lock frame included with the pattern ("Gunmetal", or an iridescent black). The pattern with frame has two other colors as well. The company that designed and sells this pattern is Pink Sand Beach Designs. They also sell the frames separately so you can make more after you make your first one!
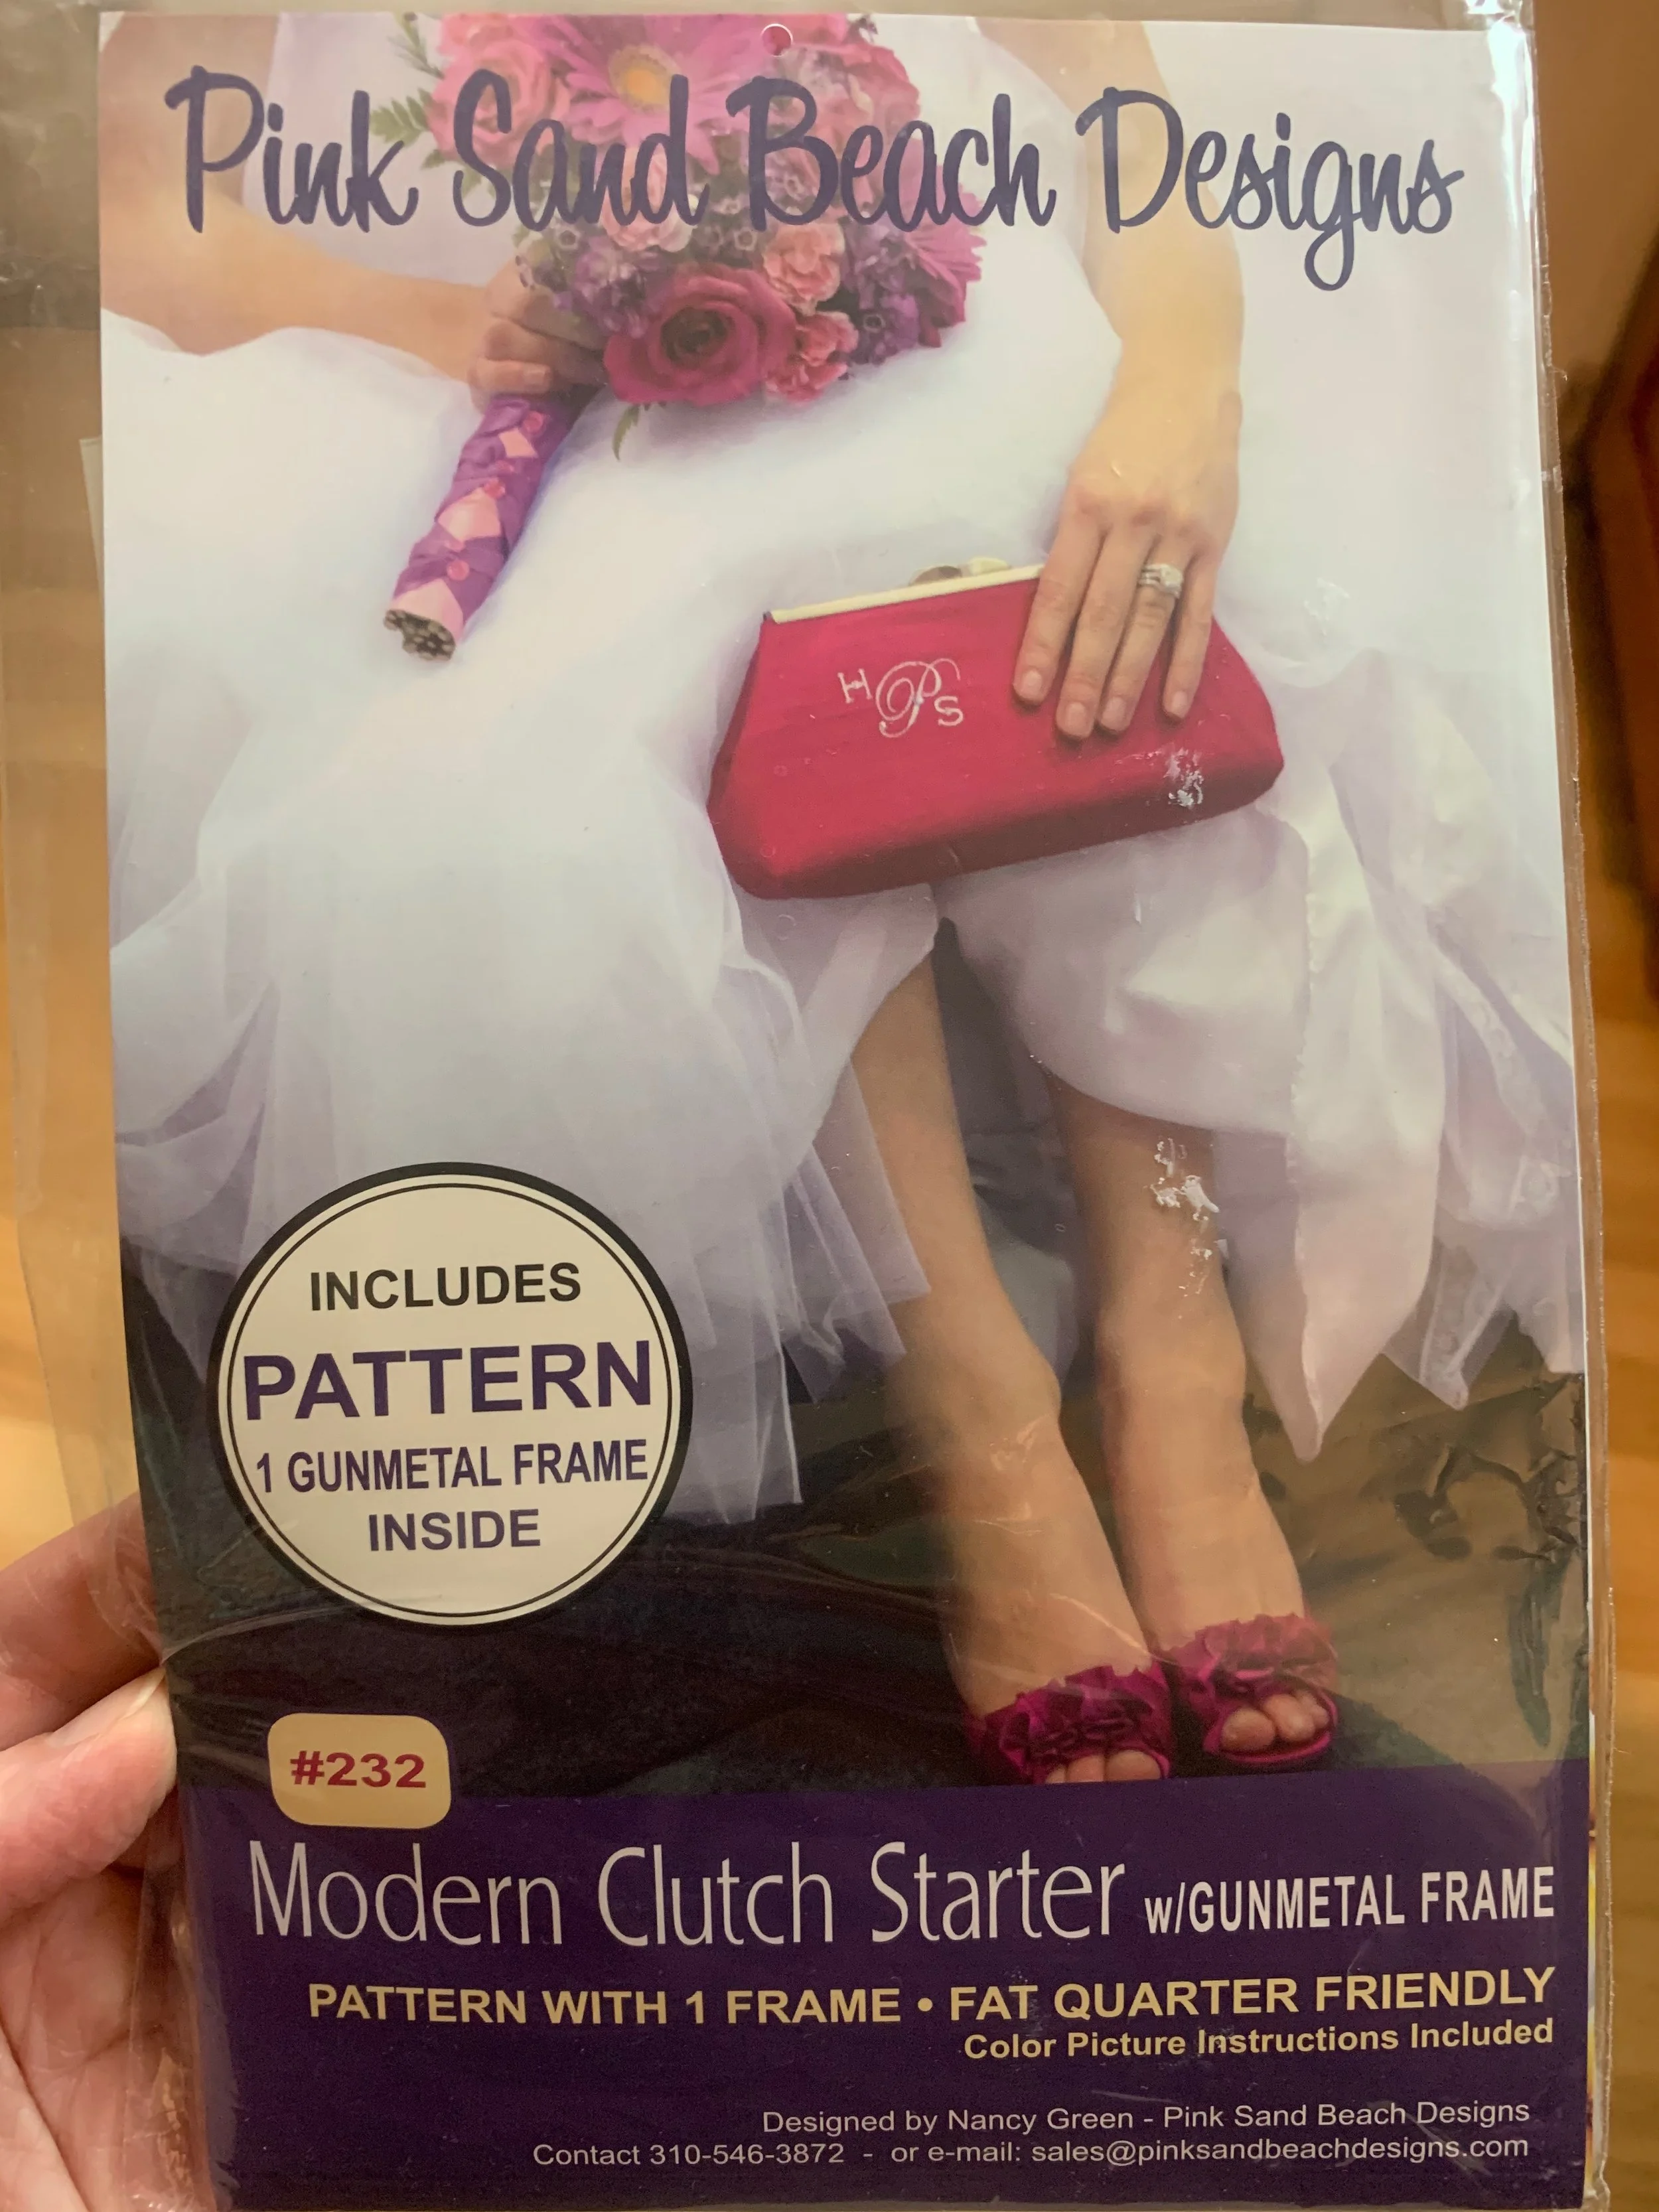
Photo of the pattern
The Machine Embroidery
I both embroidered and sewed my bag on the same machine, a Bernina. I used a cutaway embroidery stabilizer in the hoop. Then instead of cutting it away I used it in place of the Decorbond called for in the directions. My machine has the ability to manipulate designs before stitchingi, in size, orientation, and proporton.

The embroidery design is duplicated and overlapping, with one in reverse

This is actually the same design as on the front, except I’ve overlapped the designs (one as is and one reversed) in a slightly different configuration
As you can see from the photo captions, this is actually the same design doubled up, with one of the images reversed and then overlapped. Here I also shrank the design so that when I stitched it out, it would be centered where I wanted it. By reversing and overlapping the reverse images in multiple ways I was able to create another image that looks different but also matching. In this case I also had to flip them upside down for the stitching out. This bag uses a single piece of fabric that is folded so that one side is the front and one side is the back.
*A Tip!*
*However*, before stitching out the entire piece of fabric for my bag, I stitched out these designs on separate extra bits of the fabric so I would be sure I liked them. I bought a little extra yardage so I could do just that. In this way, I felt more confident when I actually stitched out the designs on my real fabric pattern piece! The sewing pattern tells you at what point to stop and add optional embroidery, and includes helpful dimensions for plotting out your image placement.
Thread
The embroidery threads I used here are 40wt polyester. I don't remember anymore which brand I used for this project, but the two main brands of embroidery thread I use are OESD, or Floriani. The green thread is actually the same color thread for both the decorative embroidery on the top edge of the pocket and on the outside of the bag.
The Pocket
I also embellished the inside of my bag. Soon after I had purchased my very fancy machine, this bag class was offered at my sewing machine store, The Presser Foot. It turned into playtime for me with the new features! So, I tried out the different embroidery designs and ways to place them on my fabric. I could have embellished my bag with a decorative sewing stitch from my machine, but for this pocket edge I used a border embroidery design, pre-loaded into my sewing machine. Since I did embroider this pocket, I used a stabilizer for the hoop to which I attached my fabric (I did not hoop the fabric), and I decided to leave it in place to add rigidity to the pocket. The shiny fabric ripples a bit over the stabilizer - I’m not sure if it would have looked better with a regular interfacing, but I might try that sometime.

Interior of bag with machine embroidered embellishment on pocket.
Epilogue
It's been a few years since I made this, and I'm still really pleased with this cute little bag. The bag classes I've taken at The Presser Foot have been so much fun, and have been a great way for me to keep practicing skills and learning new ones. I encourage all my friends who sew to take classes at their local sewing machine store or other local source of classes. During this time of pandemic restrictions, many places even offer online classes. Wherever you are, I hope you are able to make friends and hone your skills in fun classes such as this!