The Big Easy Expanding Tote Bag
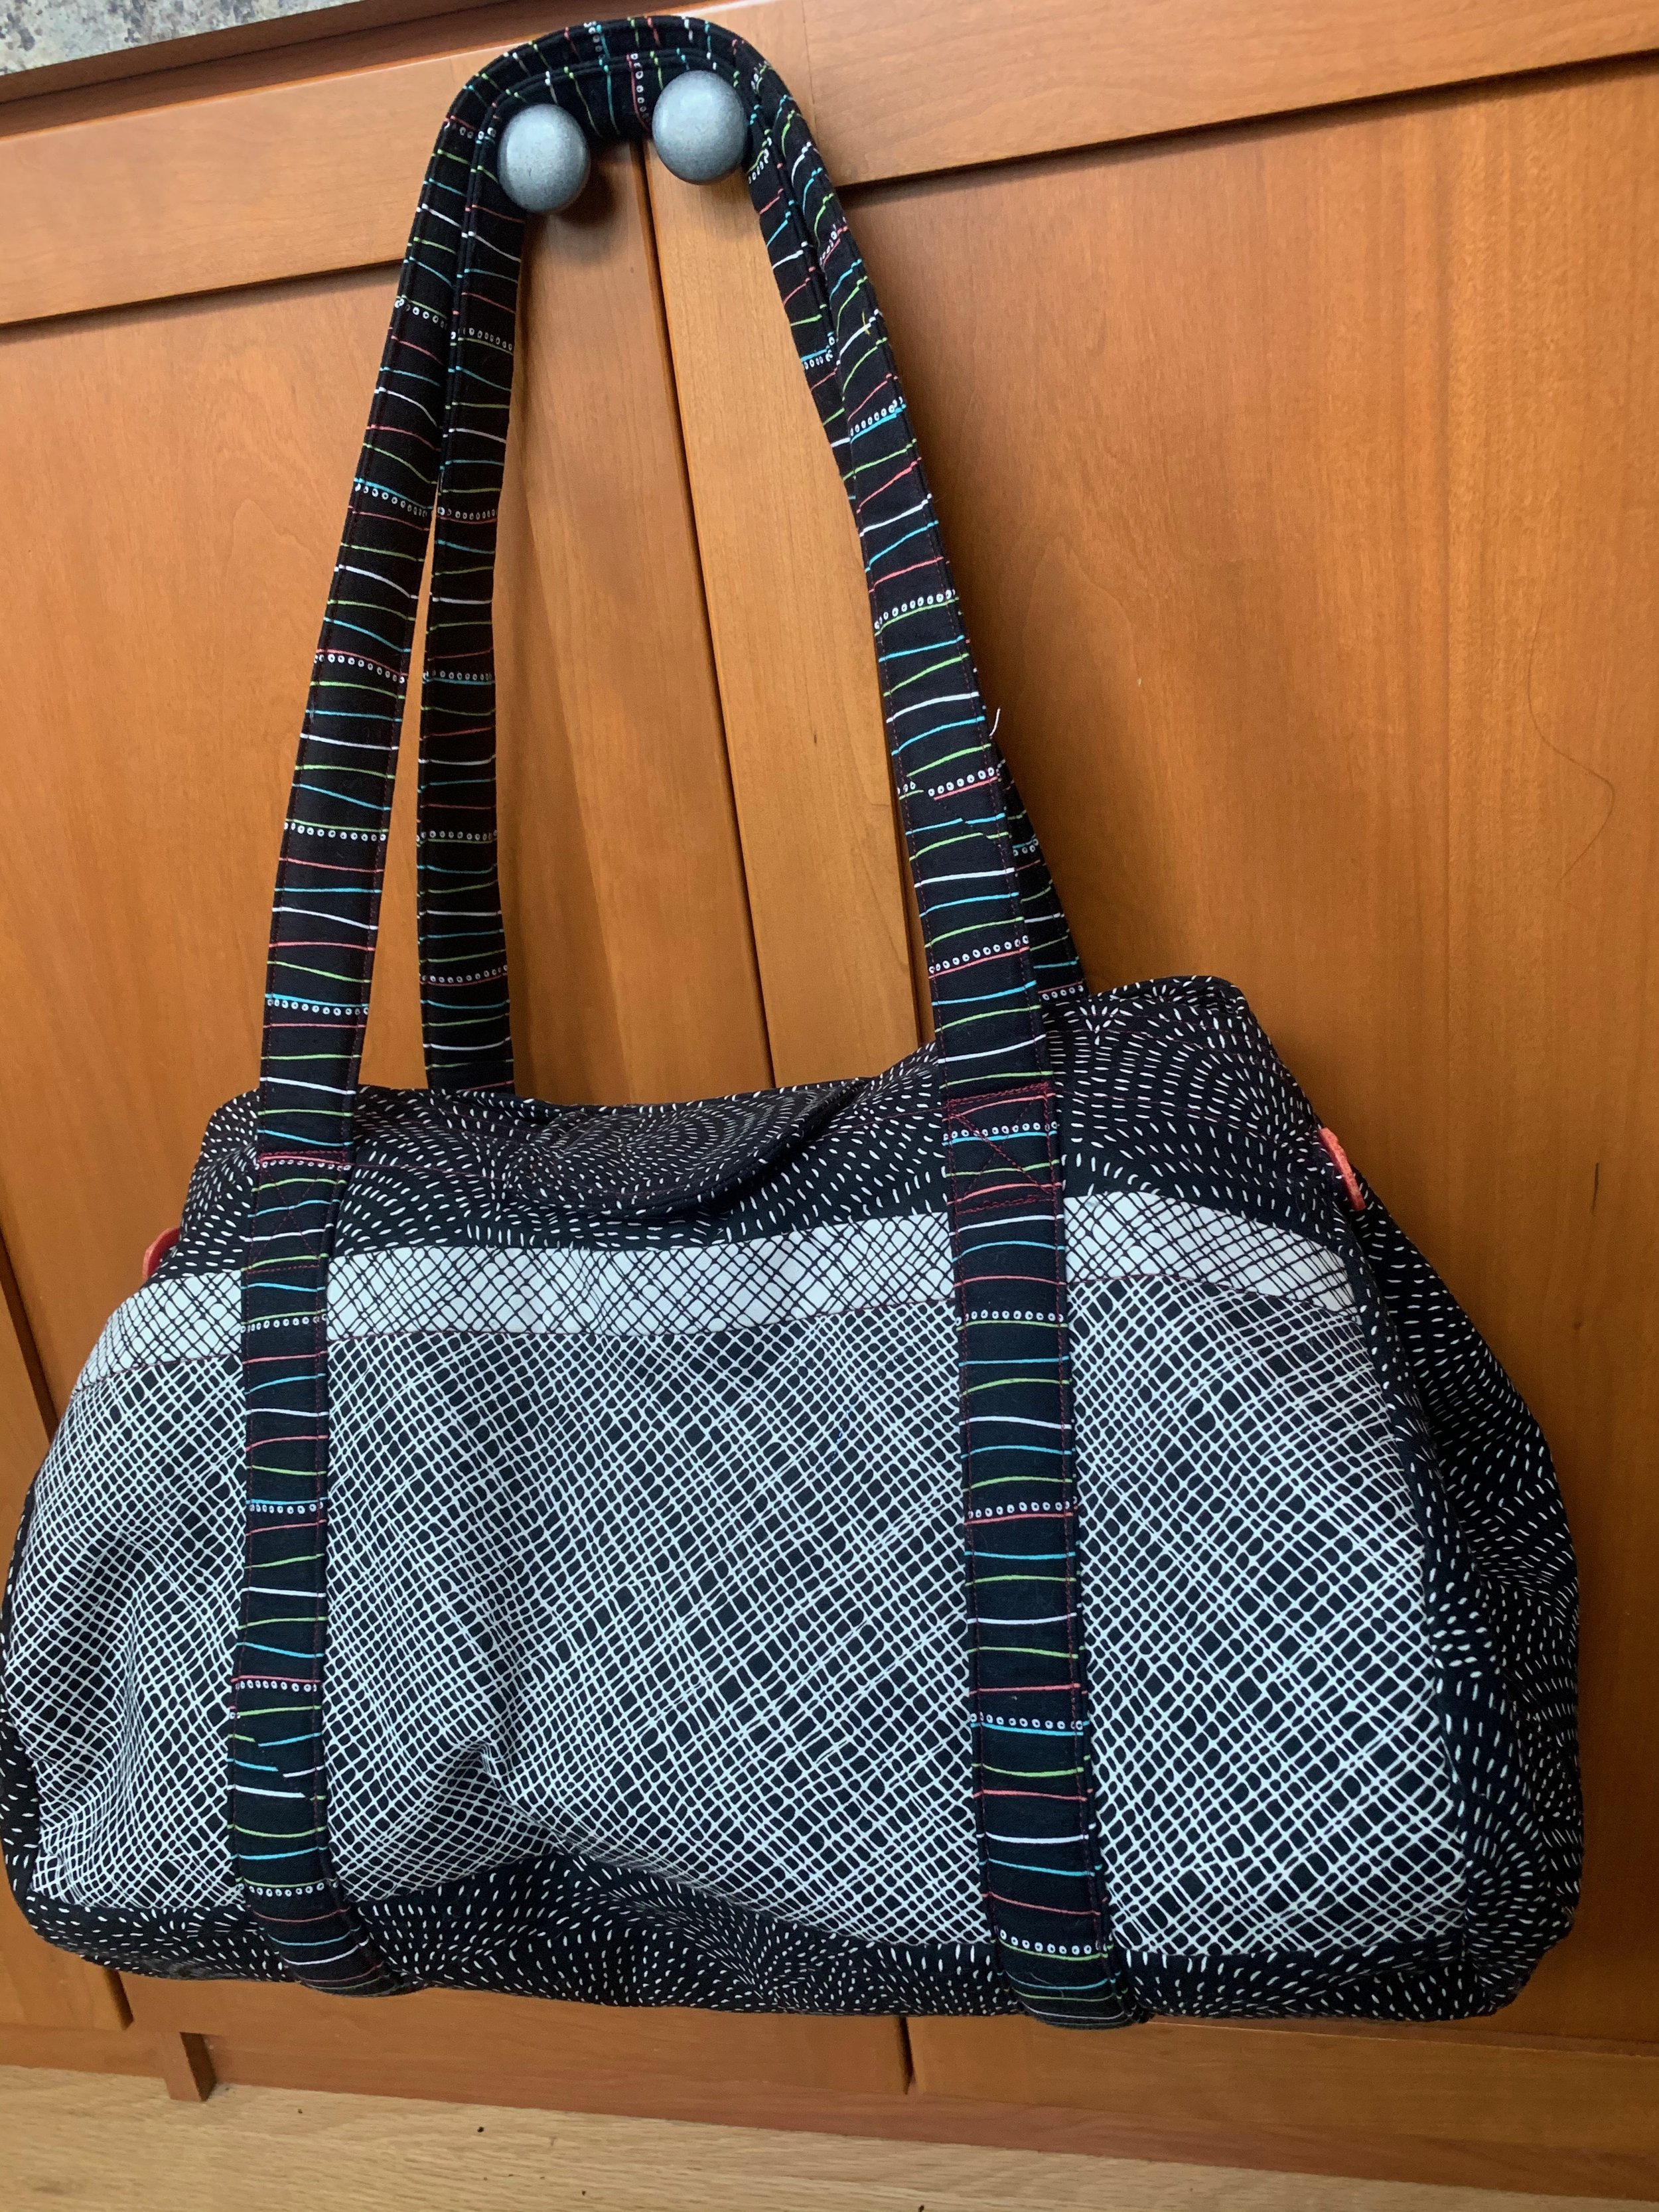
Big Easy Expanding Tote front
Continuing with my archives, here is a really great bag called The Big Easy. I made this one in 2018. The pattern describes it as an expanding tote bag because it can be fastened up to be more compact (via large magnetic snaps and buttons on the sides) or expanded out to jumbo size when the sides are released. I use it as a project bag, but it would also make a great carry-all for travel.
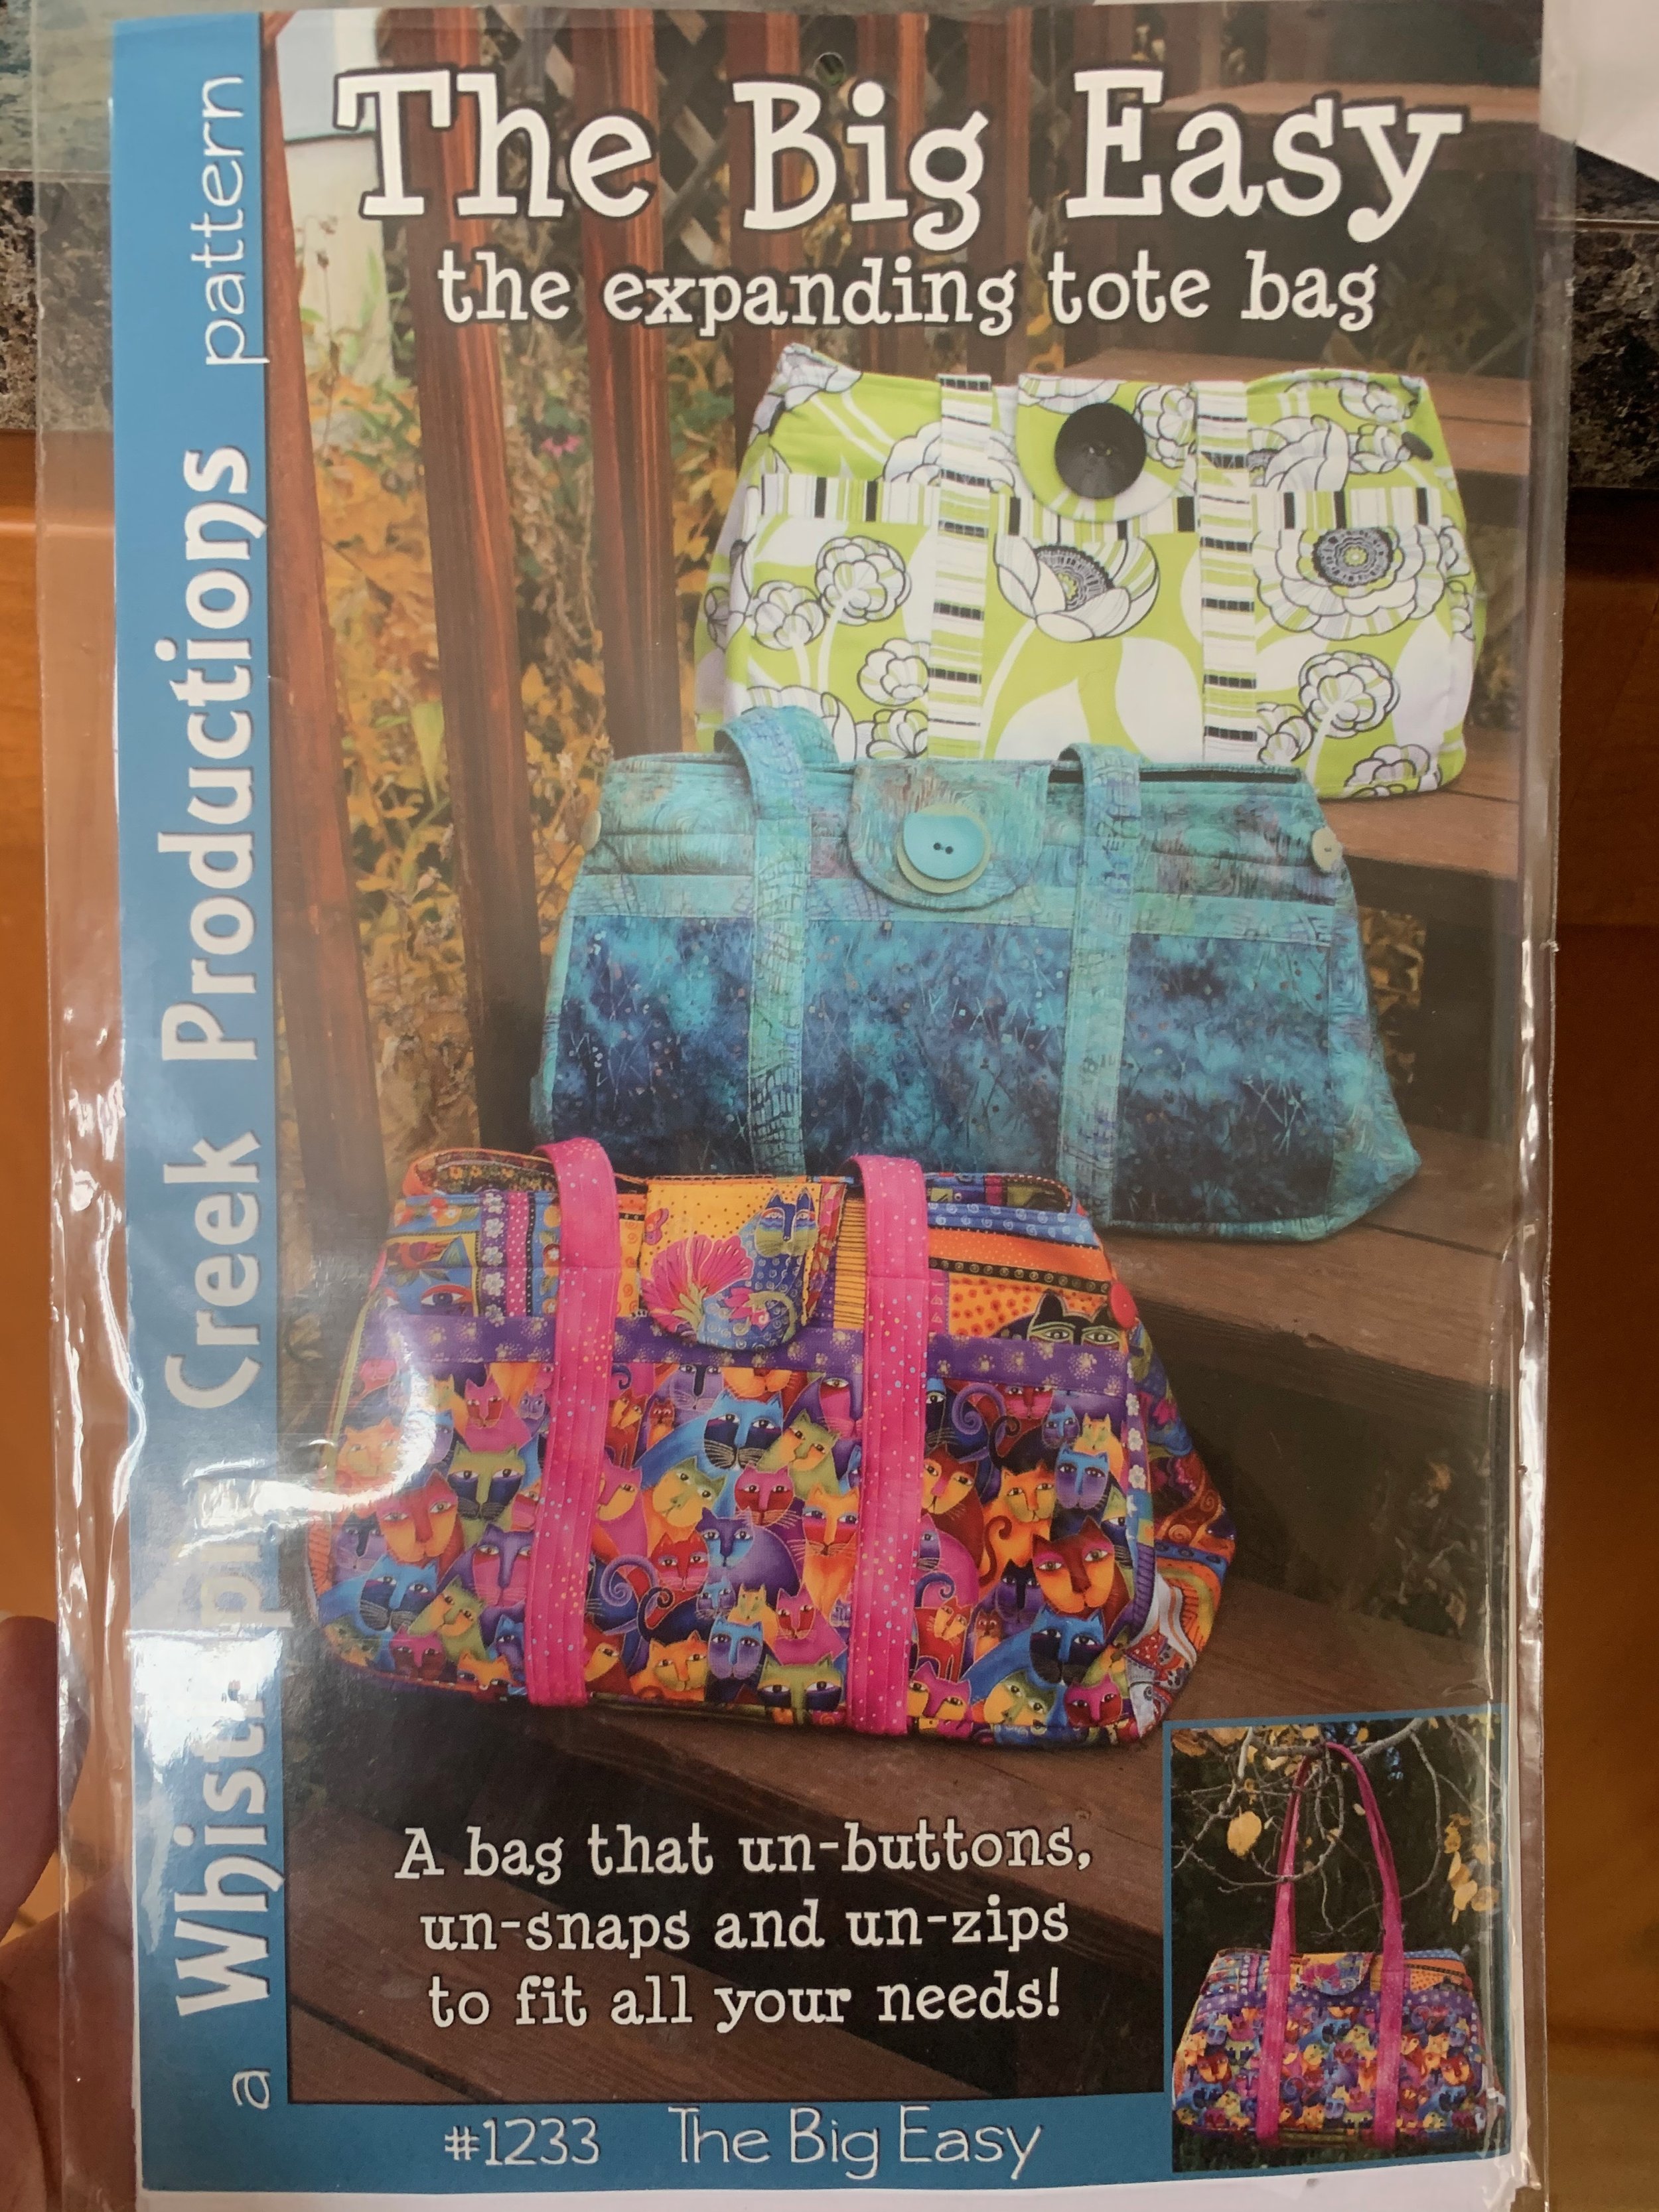
The Pattern
The pattern for the Big Easy bag is by Whistlepig Creek Productions. I have a paper pattern, but when I looked at their website, it said they are switching to digital patterns, so you can get the Big Easy Expanding Tote pattern by download.
This Bag!!
This bag has so many great features. Front and back are pretty much the same, with pockets on both sides. You can tell the front because the velcro flap that fastens over the top goes toward the front. Otherwise the pockets and fabrics are the same front and back.
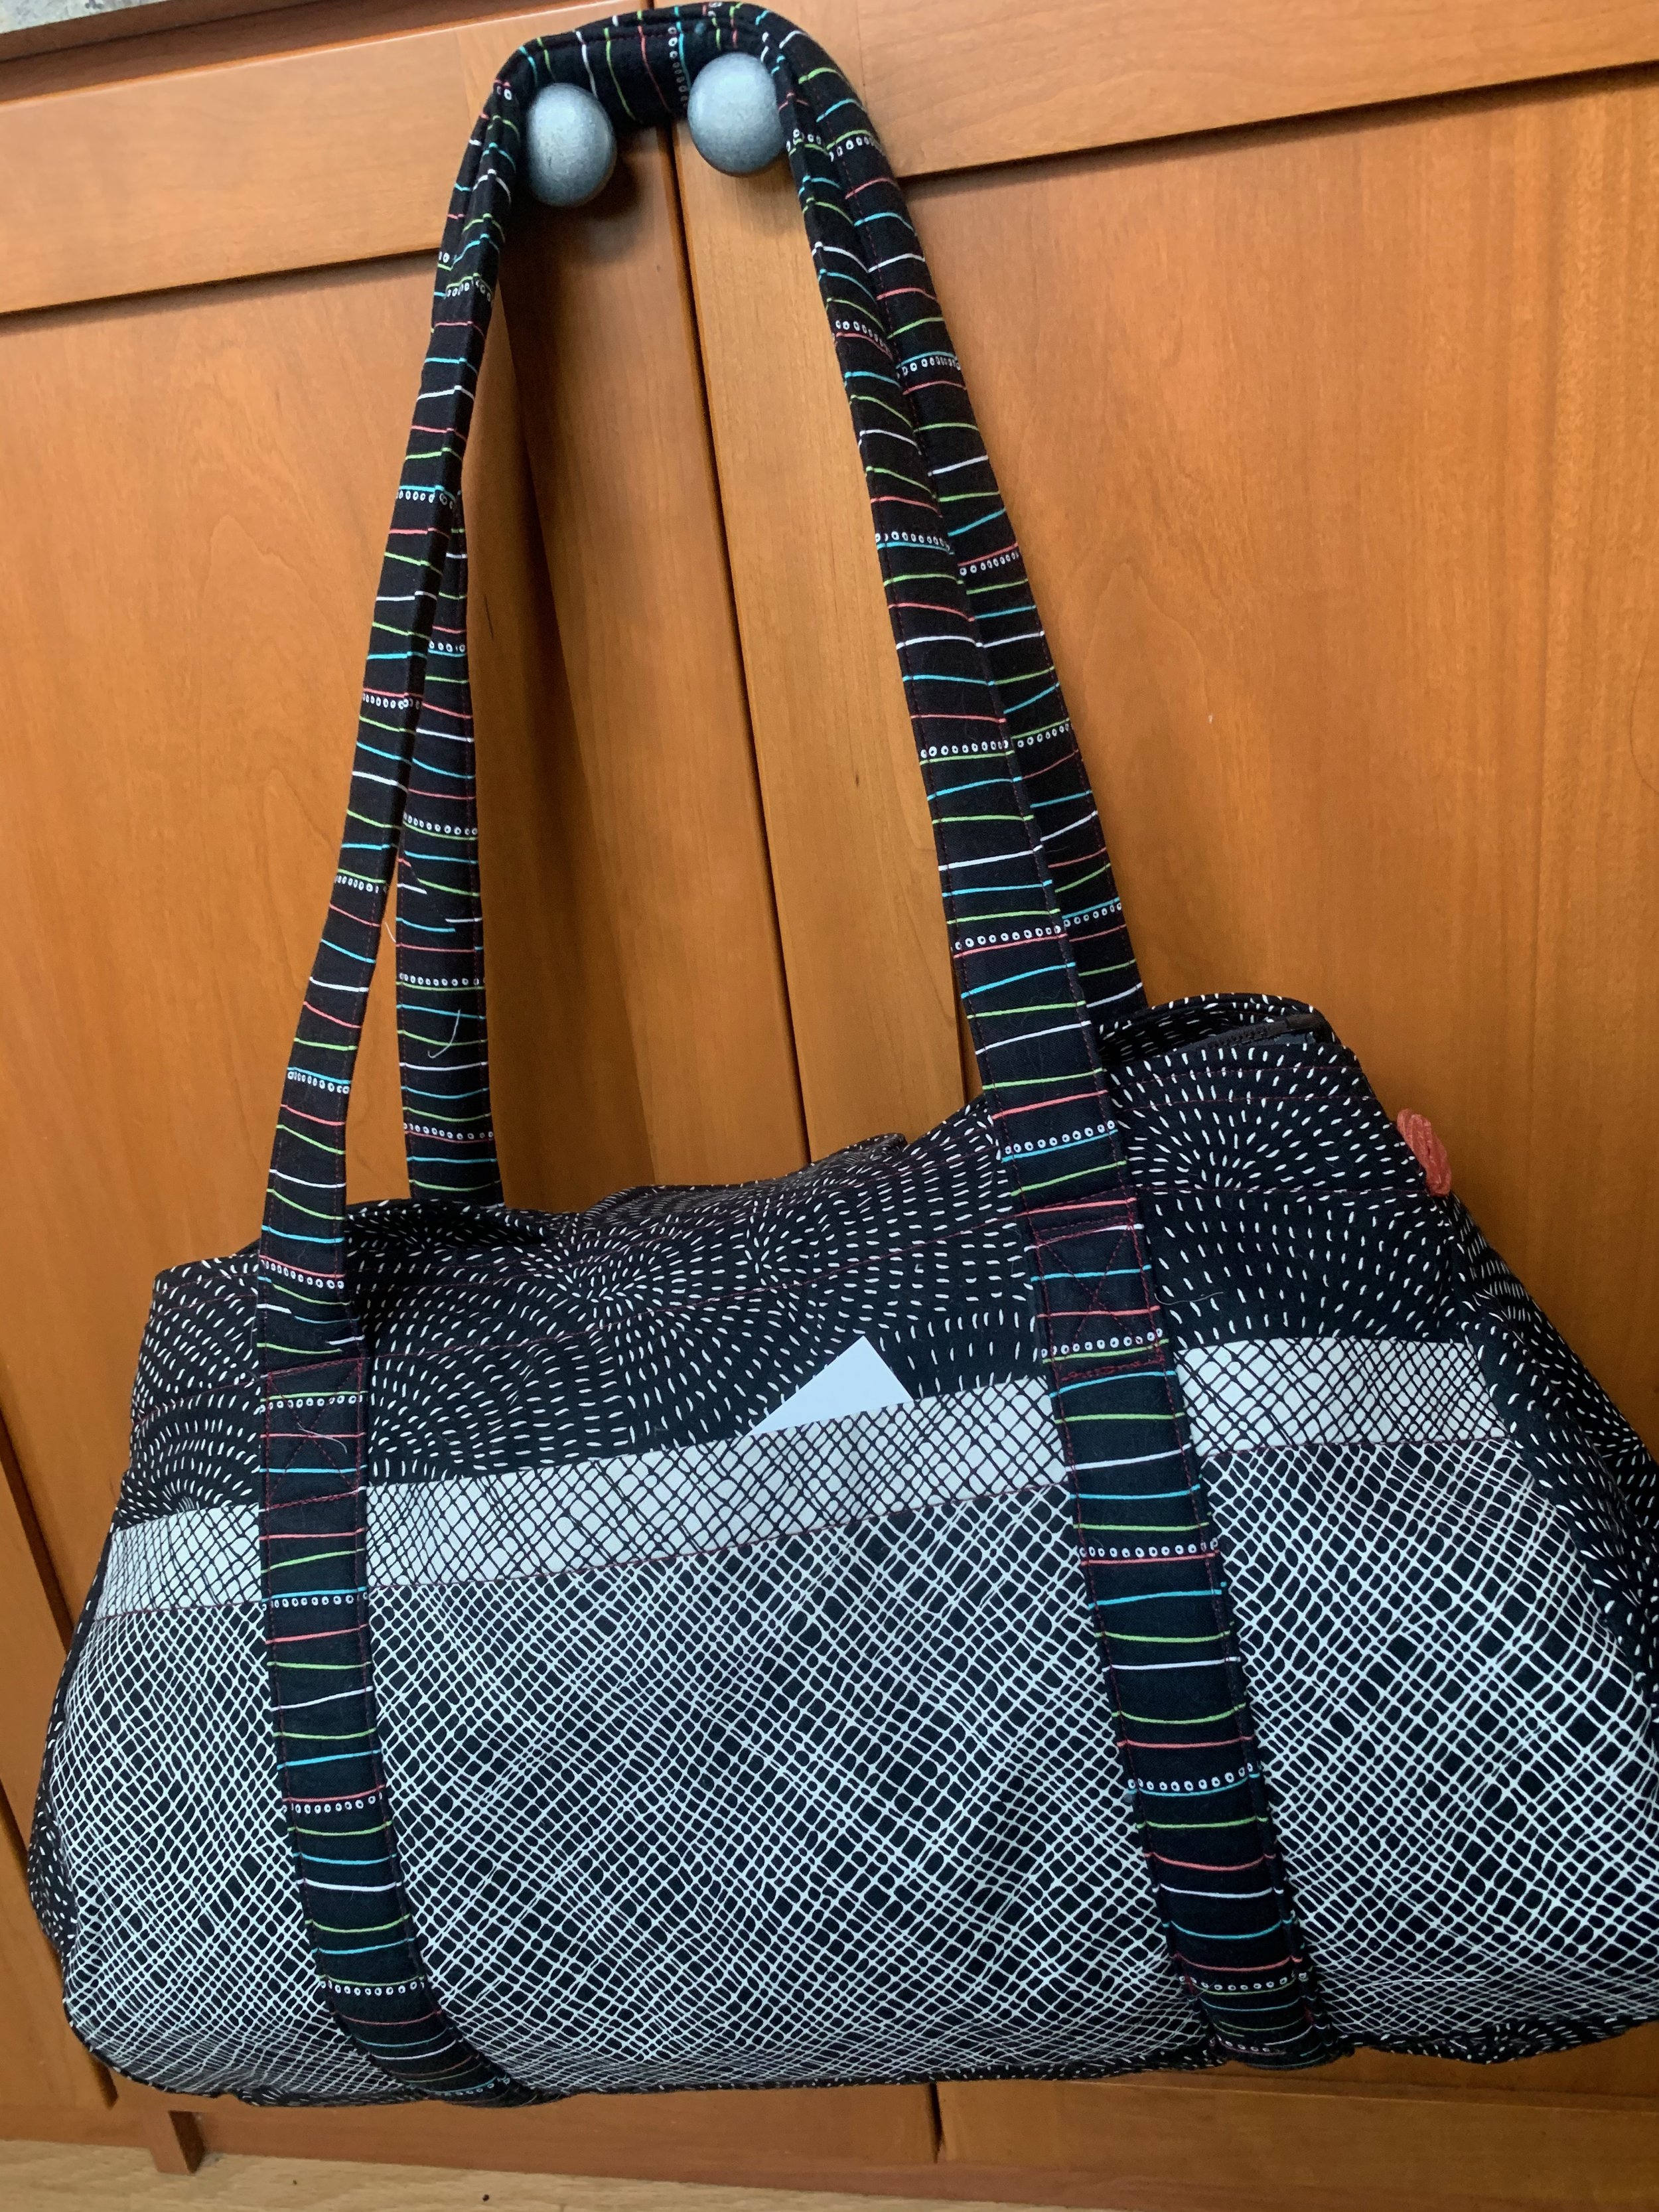
The Big Easy back - with a small piece of paper to show the pocket.
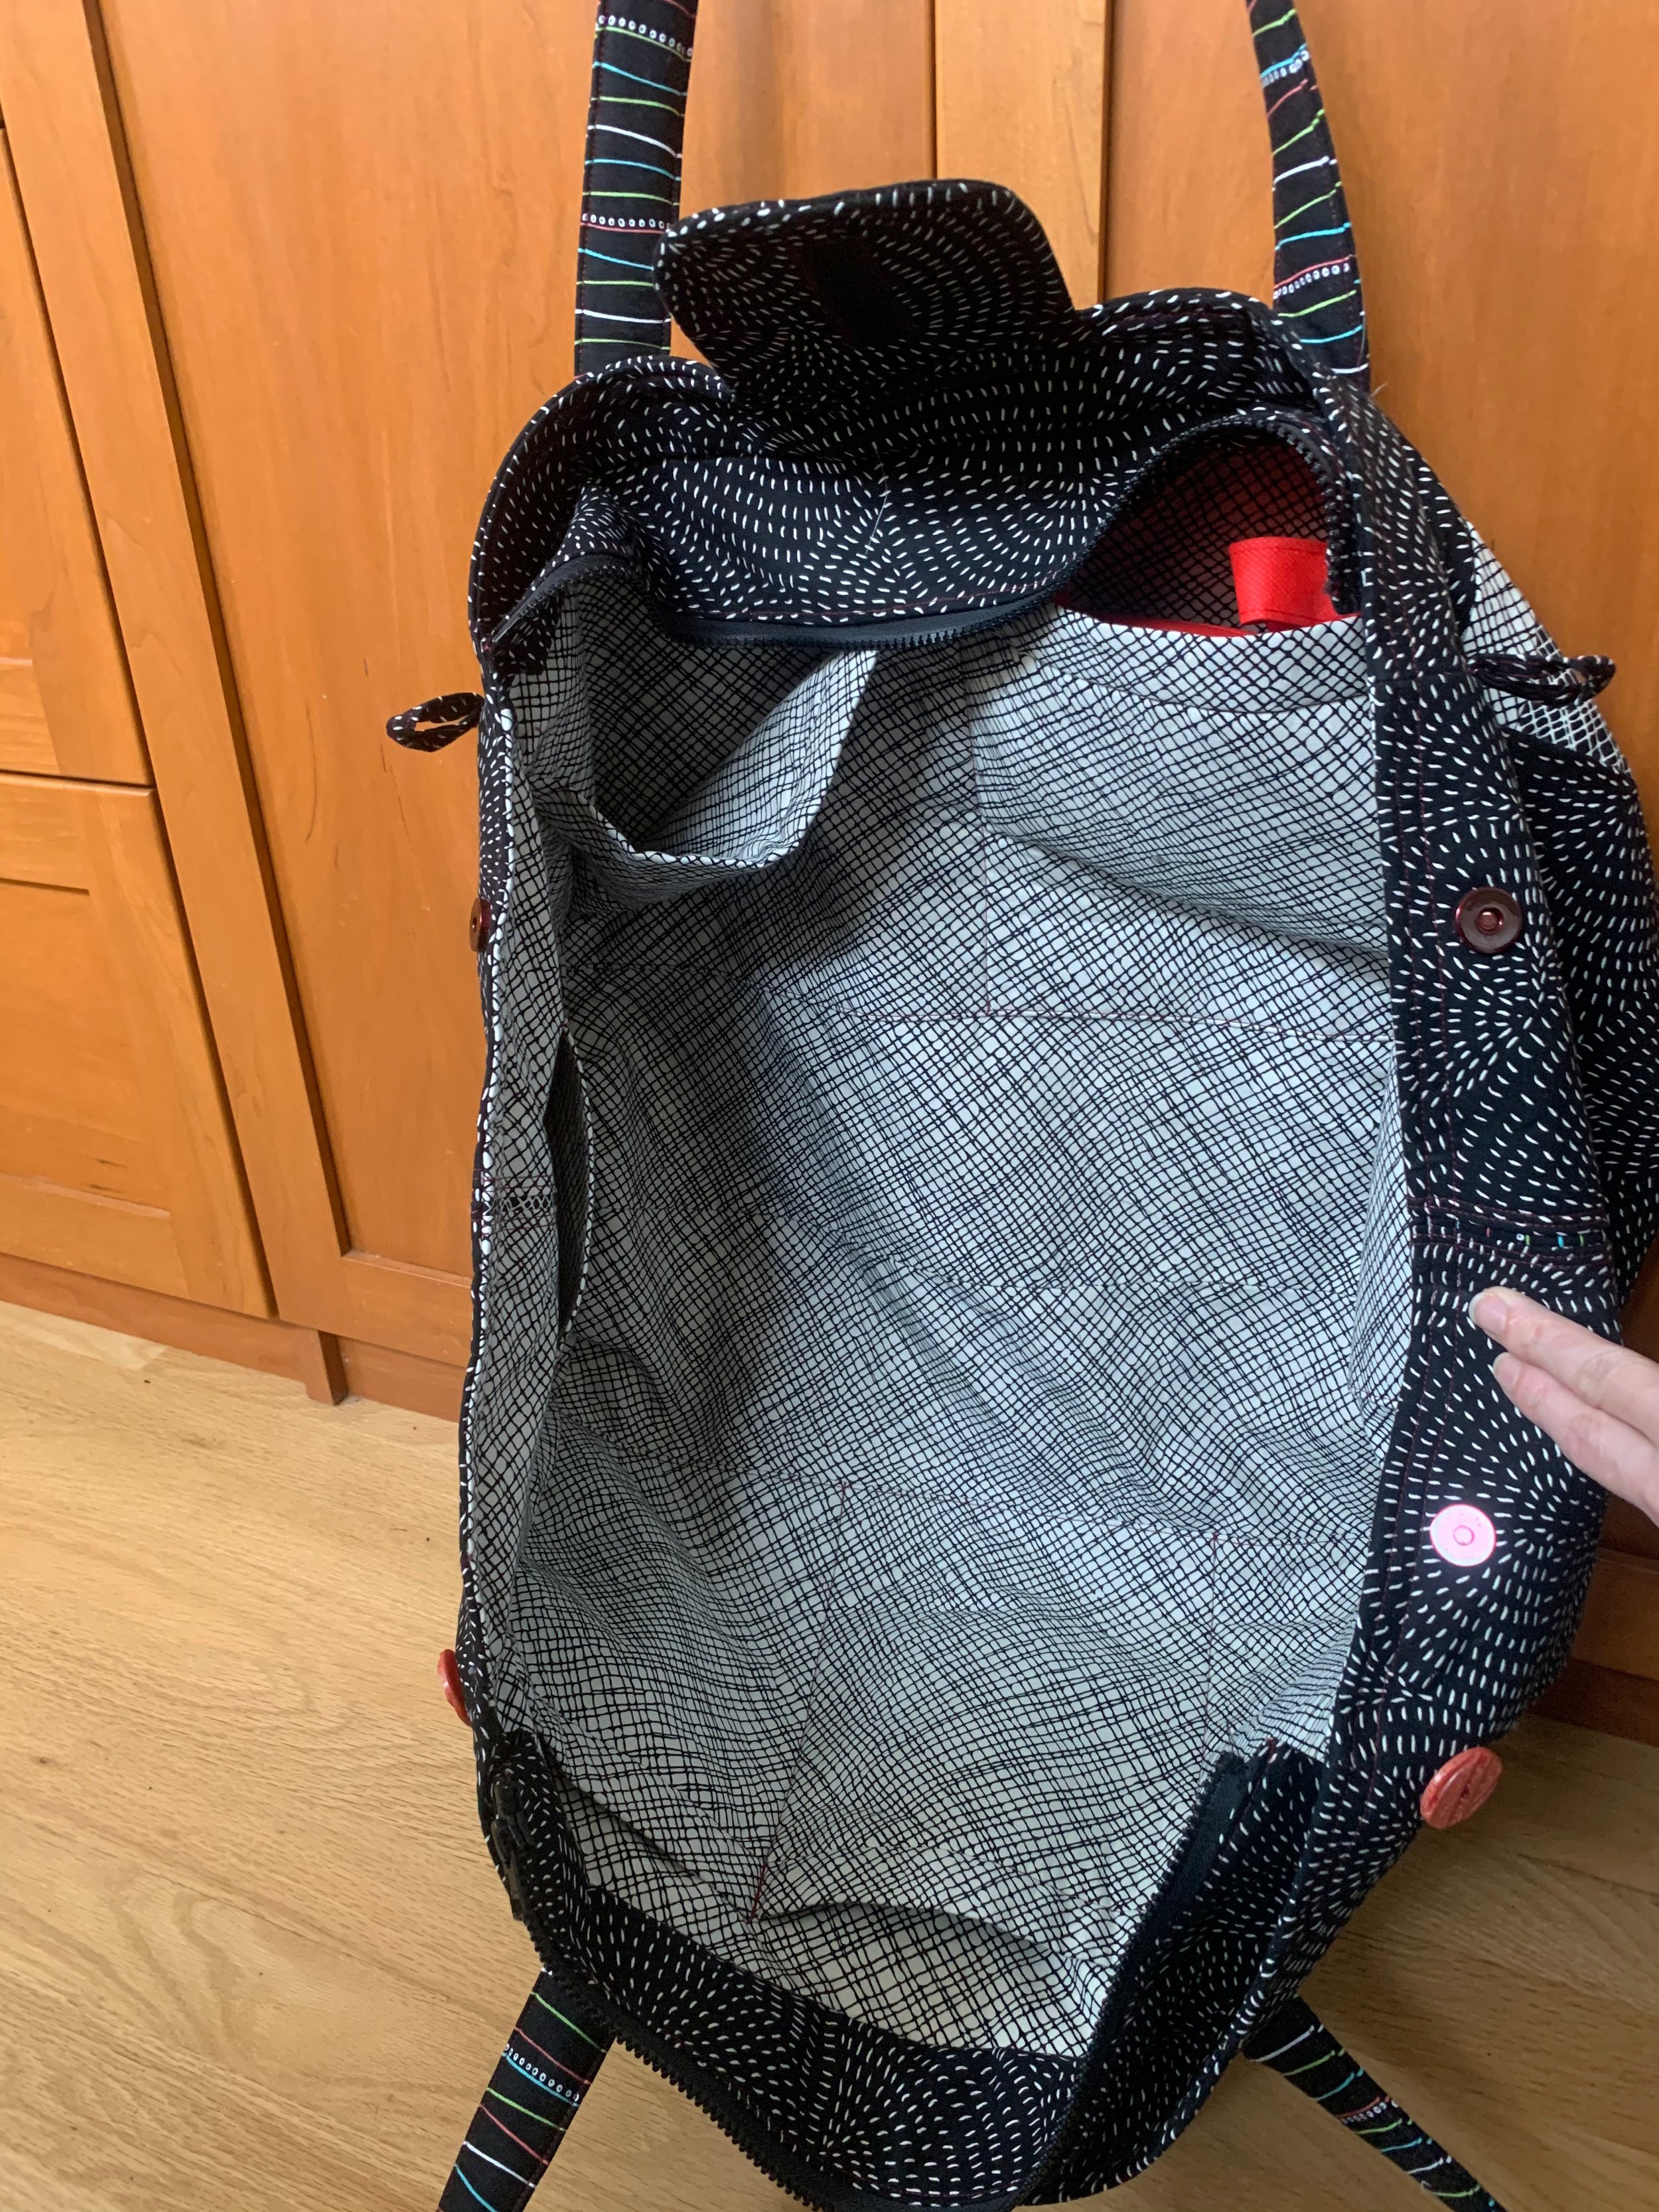
The interior is very very roomy, and there are also a lot of pockets there as well. You determine the size of the pockets by where you choose to put your stitches that both divide the pockets and attach them to the main body.
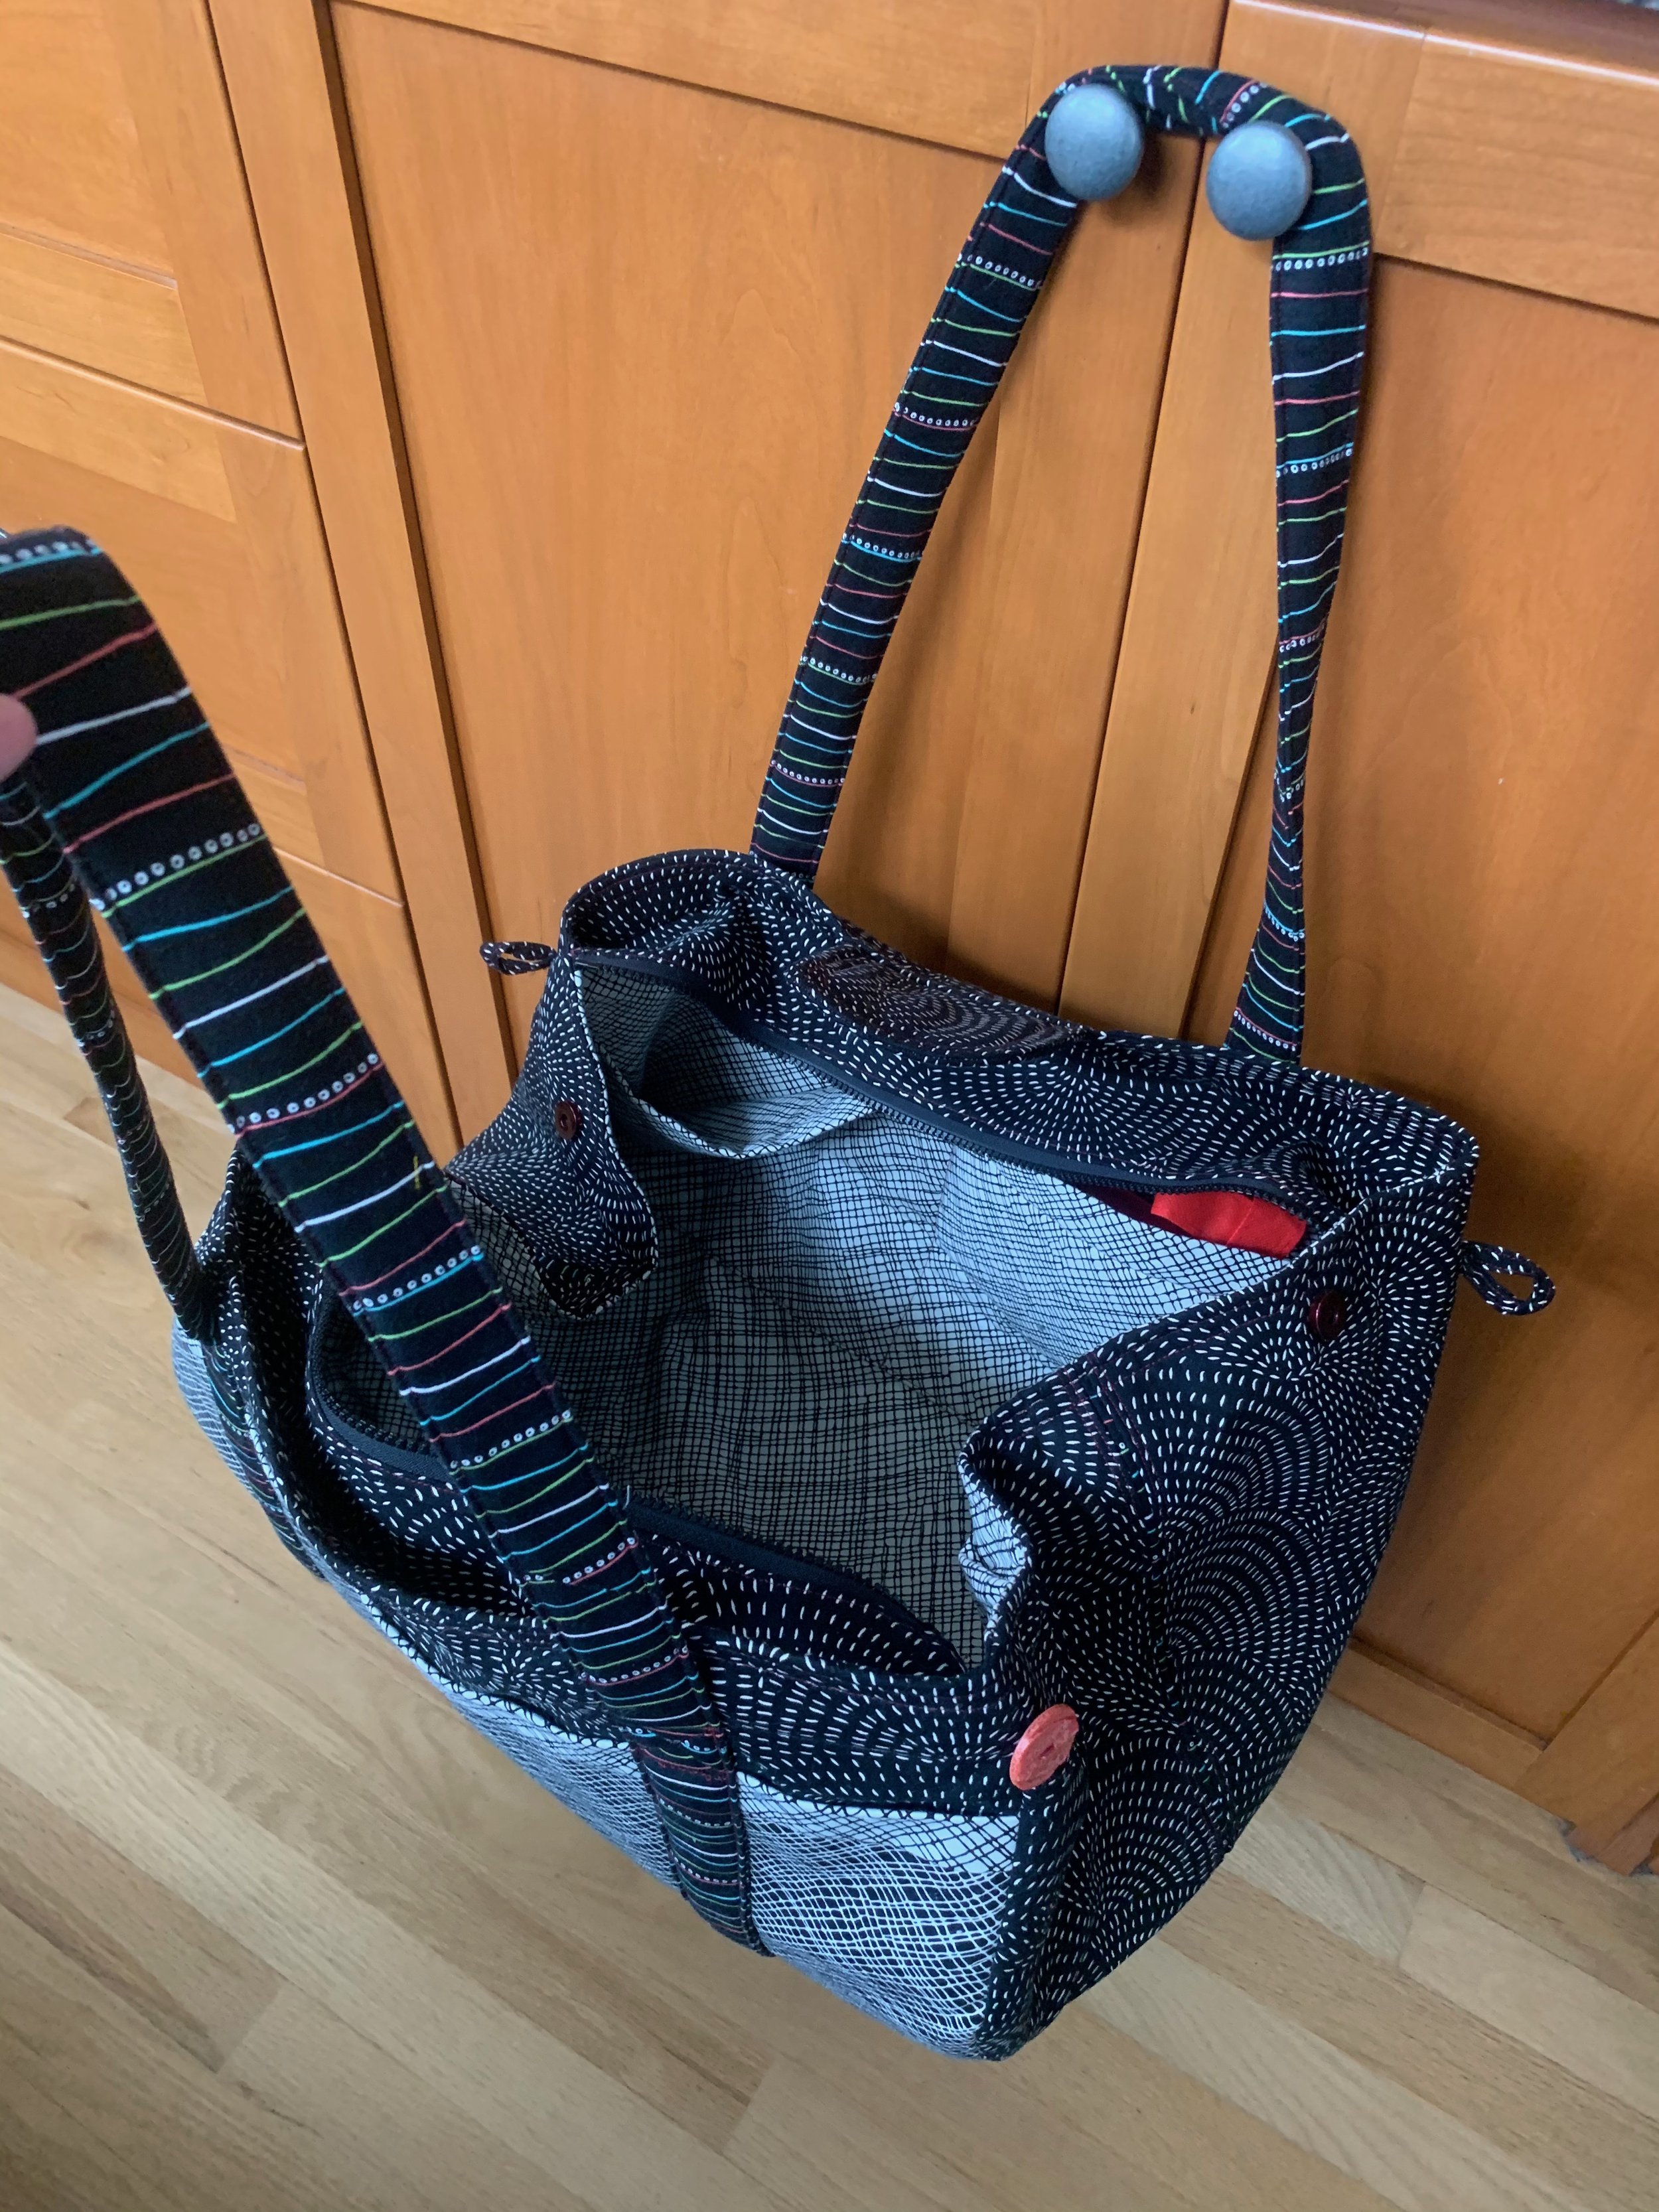
Big Easy interior view
As you can see in the view directly above, there is a large zipper set into a panel across the top, and you can see the tabs for the side buttons as well as one of the actual buttons. Additionally, there is a large velcro-fastened flap tab that goes over the top of the zipper panel, and there are magnetic snaps on the sides, just a bit inside of where the buttons and tabs are.
Big Easy interior view 2
The Side Panels, and Oopsie!
The side panels are what make this bag big and expandable. The two sets of closures give a little extra security if you’ve really stuffed the bag full.

Big Easy side panel
Now, I have a confession about a mistake I made, and how I fixed it. You might be able to see in the photo above that there is a strip of contrasting fabric going down the center of the side panel. That isn’t supposed to be there! When I was cutting out the pattern and my fabric, I somehow blanked on the detail that you’re supposed to overlap the side panel pattern pieces and use them together as one large piece. I cut out my side panels as two separate pieces for each side of the bag! It wasn’t until I was putting it together that I got confused and it took a few minutes of looking over everything to figure out what was wrong. I didn’t have enough fabric to recut my side panels, so instead I decided to make a little patch, as it were, and make it decorative.

Since I had to use the fabric edges at the center as part of my seam allowance to join the pieces together, I used some of the contrasting fabric from the straps to make a strip that could be seen and that would fill in the resulting gap (if I had just joined the side panel pieces directly to each other I would have had the wrong finished size on my side panels, which would have messed up putting the rest of the bag together). As you can see in the picture, I used a red thread throughout the bag construction as a subtle contrast. By the time I had it all fixed, I decided that I actually liked the look of it even better!
Some Presser Feet
This bag is rather heavy, with two kinds of interfacing - a woven interfacing and a fleece interfacing, plus the fabric itself. Attaching the side panels to the main bag was also tricky, as it was on a curve, and the ends and centers needed to be in the right alignment. I used a lot of Wonderclips to hold everything in place while sewing. I also used some helpful presser feet to go over heavy, uneven seams and stay aligned with my rows of stitches.
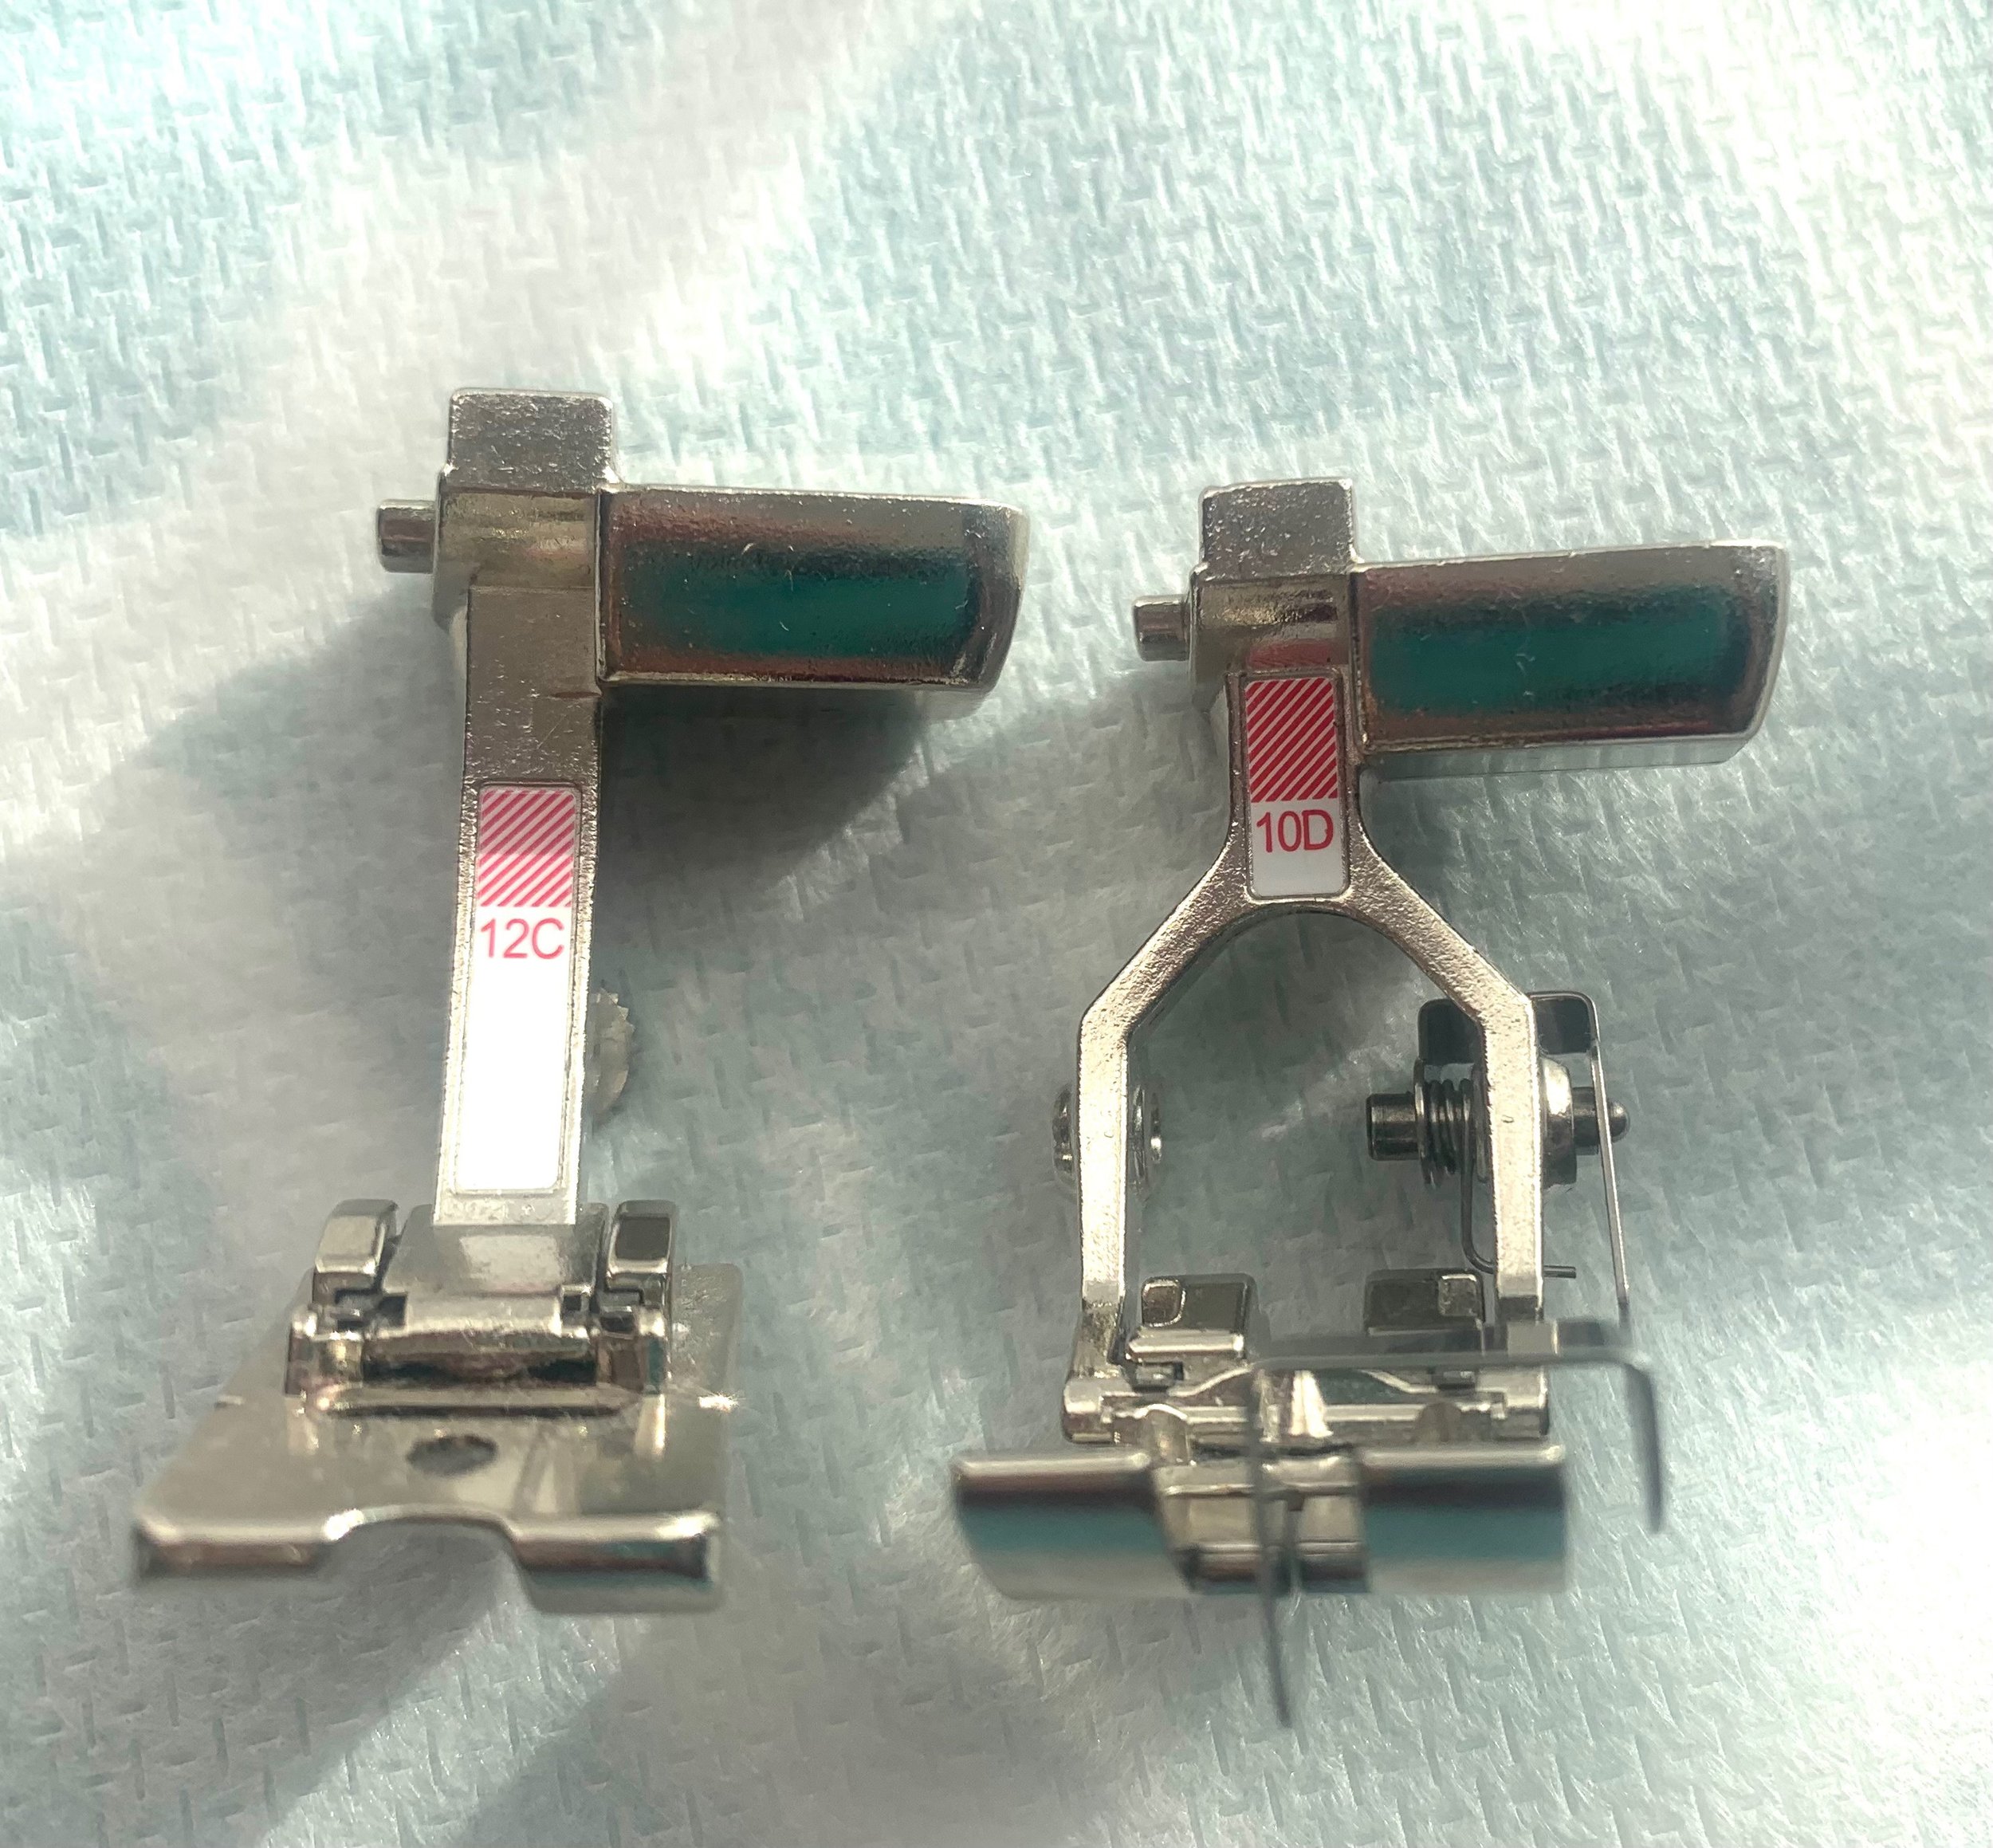
Bulky overlock/cording foot and dual-feed edgestitch foot
Two feet that were really helpful included a bulky overlock/cording foot - I did not apply cording or use an overlock stitch, but this foot has an uneven bottom to accommodate one side of your fabric layers being bulkier than the other side’s fabric layers. The edgestitch foot with the center guide made it easy to keep my topstitching even with my seam, and the dual-feed function meant that the bulky layers fed under the foot with more stability and less warping.
Epilogue
So - I really, really love this bag! As of the writing of this post, my Big Easy Expanding Tote bag is holding a finished quilt top in my sewing studio, but before that (meaning, before the pandemic!) I used it as a bag to carry project supplies to class. I’m pleased with my fabrics, with my contrasting details in red, and with how functional this bag is for carrying a large item with its enormous interior, and many smaller items in all the pockets. I would definitely make this again!